Difference between revisions of "Deleted/Chara Studio"
From Hgames Wiki
Gussygoose (talk | contribs) (added basic lengthy guide.. =_=) |
Gussygoose (talk | contribs) (→Beginner's Guide: added EX and some tidying things up =_=) |
||
| Line 5: | Line 5: | ||
Chara Studio is a powerful editor that lets you create a scene using the characters, animations, models, sounds available from the game. | Chara Studio is a powerful editor that lets you create a scene using the characters, animations, models, sounds available from the game. | ||
| − | ==Beginner's Guide== | + | ==Beginner's Guide for Dummies== |
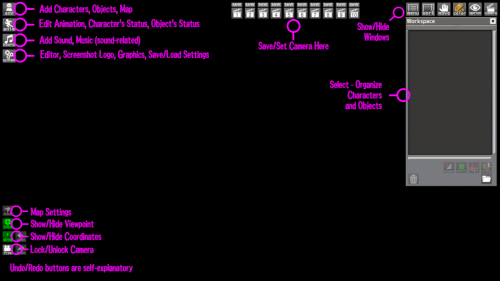
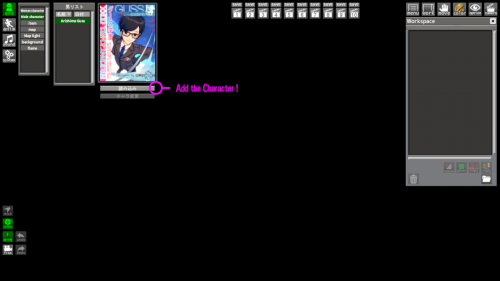
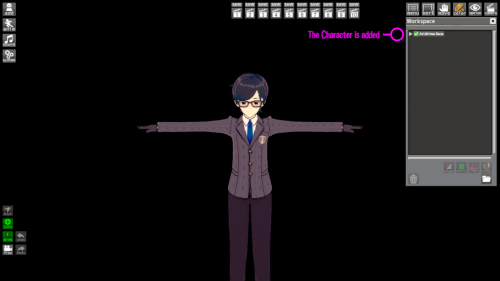
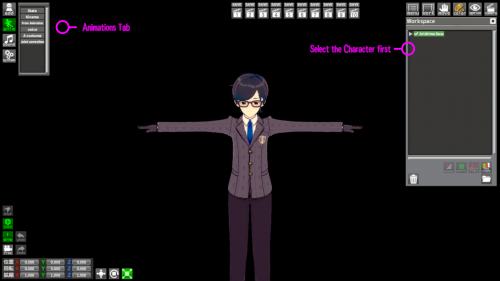
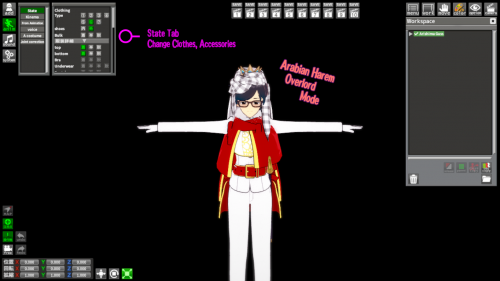
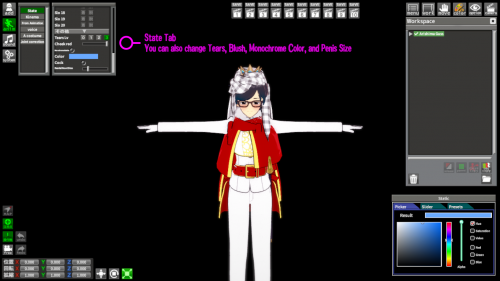
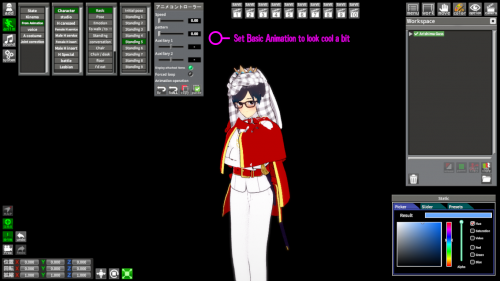
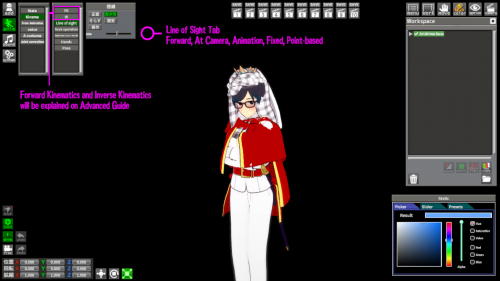
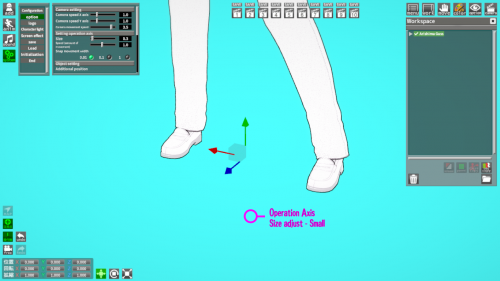
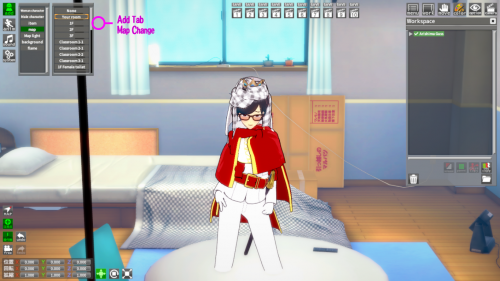
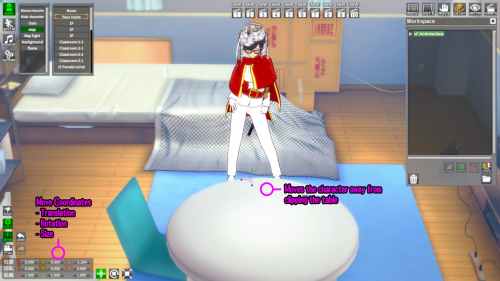
Below is a detailed 33-steps picture-to-picture that cover the basics with explanation to get you started into the editor. | Below is a detailed 33-steps picture-to-picture that cover the basics with explanation to get you started into the editor. | ||
{| class="wikitable" | {| class="wikitable" | ||
| Line 35: | Line 35: | ||
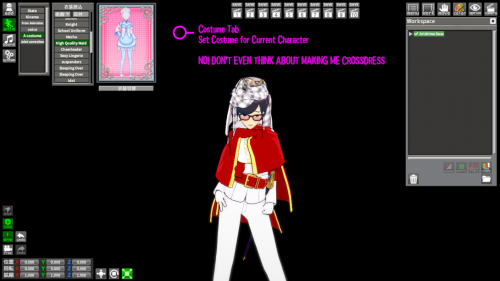
| 13. ||style="background: #FFDDF1;"|[[File:koi_g11_costume.png|500px]]|| On Costumes Tab, you can change the character's costume | | 13. ||style="background: #FFDDF1;"|[[File:koi_g11_costume.png|500px]]|| On Costumes Tab, you can change the character's costume | ||
|- | |- | ||
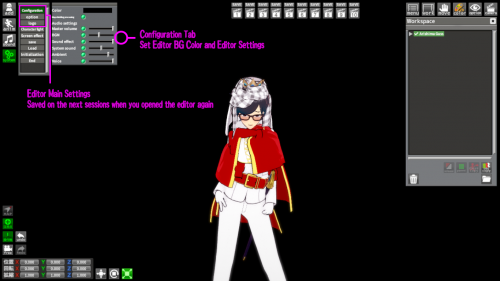
| − | | 14. ||style="background: #FFDDF1;"|[[File:koi_g12_config.png|500px]]|| ''*skipped the Sounds Tab intentionally because it seemed simple to understand*''<br><br>Onto System>Configuration, here we adjust the editor default settings. The first three (Editor Main Settings) are saved on the next session you opened the editor again. | + | | 14. ||style="background: #FFDDF1;"|[[File:koi_g12_config.png|500px]]|| ''*skipped the Sounds Tab intentionally because it seemed simple to understand*''<br><br>Onto System>Configuration, here we adjust the editor default settings. The first three (Editor Main Settings) are saved on the next session you opened the editor again. The rest are saved on each Scene file on PNG. |
|- | |- | ||
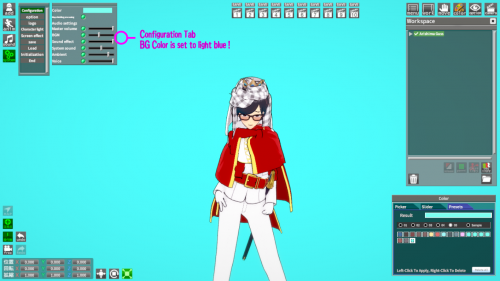
| 15. ||style="background: #FFDDF1;"|[[File:koi_g12_config2.png|500px]]|| Changed the BG Color to Light Blue. | | 15. ||style="background: #FFDDF1;"|[[File:koi_g12_config2.png|500px]]|| Changed the BG Color to Light Blue. | ||
| Line 57: | Line 57: | ||
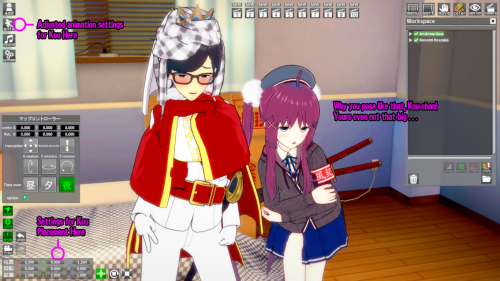
| 24. ||style="background: #FFDDF1;"|[[File:koi_g19_add2.png|500px]]|| Using the same settings, Kou is made to pose beside me. | | 24. ||style="background: #FFDDF1;"|[[File:koi_g19_add2.png|500px]]|| Using the same settings, Kou is made to pose beside me. | ||
|- | |- | ||
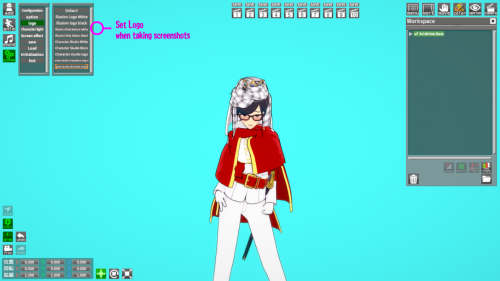
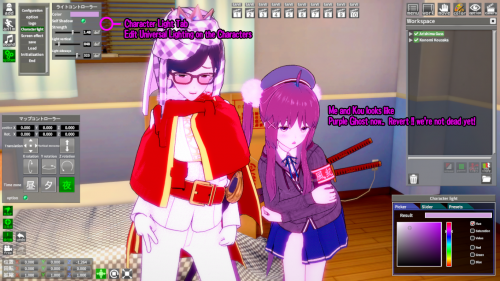
| − | | 25. ||style="background: #FFDDF1;"|[[File:koi_g20_color.png|500px]]|| After the Logo Tab, we move on to the Character Light Tab, we can change the light color, self shadow on/off, the strength of the light, Vertical and horizontal light placement. Different from the ''Editor Main Settings'', this settings and below are saved on Each Scene File. | + | | 25. ||style="background: #FFDDF1;"|[[File:koi_g20_color.png|500px]]|| After the Logo Tab, we move on to the Character Light Tab, we can change the light color, self shadow on/off, the strength of the light, Vertical and horizontal light placement. Different from the ''Editor Main Settings'', this settings and below are saved on Each Scene File. (see step no.14) |
|- | |- | ||
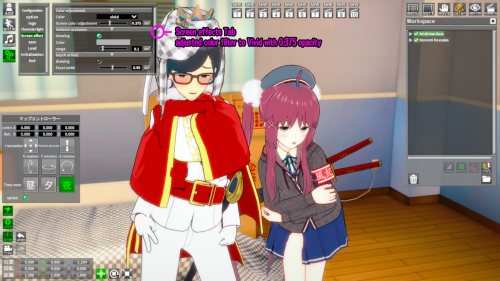
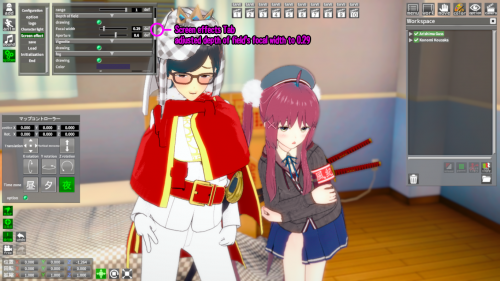
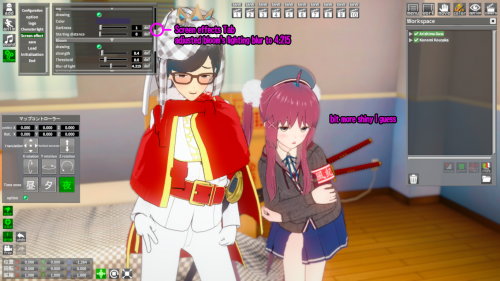
| 26. ||style="background: #FFDDF1;"|[[File:koi_g21_cadjust.png|500px]]|| On the Screen Effects Tab, I change the color filter to Vivid with 0.375 opacity, highest value at 1 will removes the color filter completely. | | 26. ||style="background: #FFDDF1;"|[[File:koi_g21_cadjust.png|500px]]|| On the Screen Effects Tab, I change the color filter to Vivid with 0.375 opacity, highest value at 1 will removes the color filter completely. | ||
| Line 71: | Line 71: | ||
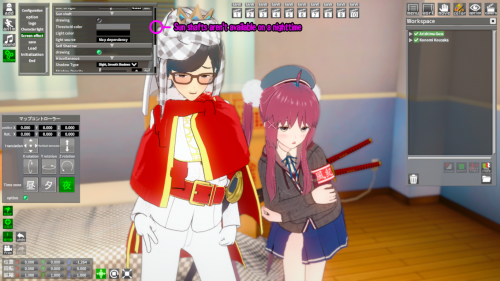
| 31. ||style="background: #FFDDF1;"|[[File:koi_g25_sunshaft.png|500px]]|| Sunshafts aren't available too.<br><br>''You can use the default blank map to see the effects of Fog and Sunshafts'' | | 31. ||style="background: #FFDDF1;"|[[File:koi_g25_sunshaft.png|500px]]|| Sunshafts aren't available too.<br><br>''You can use the default blank map to see the effects of Fog and Sunshafts'' | ||
|- | |- | ||
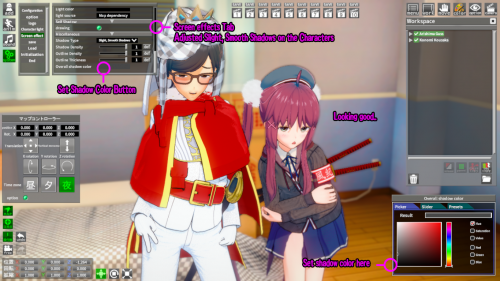
| − | | 32. ||style="background: #FFDDF1;"|[[File:koi_g26_shadow.png|500px]]|| Final touch on the Graphics settings is.. Shadow. I used Slight, Smooth Shadows on this one. All the other settings beside ''Editor Main Settings'' are saved in the Scene File. | + | | 32. ||style="background: #FFDDF1;"|[[File:koi_g26_shadow.png|500px]]|| Final touch on the Graphics settings is.. Shadow. I used Slight, Smooth Shadows on this one. All the other settings beside ''Editor Main Settings'' are saved in the Scene File. (see step no.14) |
|- | |- | ||
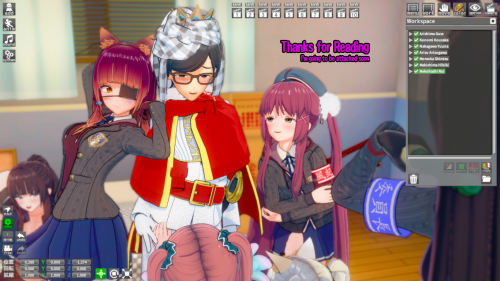
| − | | 33. ||style="background: #FFDDF1;"|[[File:koi_g27_end.png|500px]]|| Thanks for reading this | + | | 33. ||style="background: #FFDDF1;"|[[File:koi_g27_end.png|500px]]|| Thanks for reading this lengthy basic introduction guide, we hope you can create your own fantastic scene later. |
| + | |- | ||
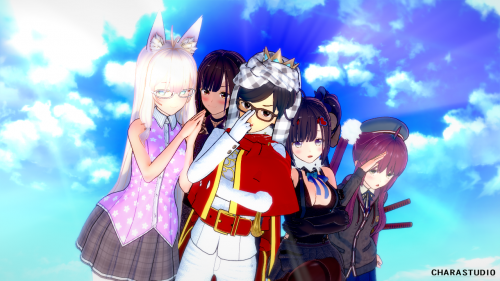
| + | | EX. ||style="background: #FFDDF1;"|[[File:koi_scene_example.png|500px]]|| Other Simple Example of a Scene using all the explanation made by this Guide (this example scene utilizes a slight blue-colored fog on the bottom and sunshafts) | ||
|- | |- | ||
|} | |} | ||
Revision as of 21:16, 3 June 2018

Chara Studio
Introduction to Chara Studio
Chara Studio is a powerful editor that lets you create a scene using the characters, animations, models, sounds available from the game.
Beginner's Guide for Dummies
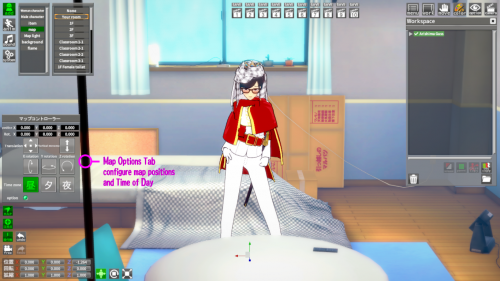
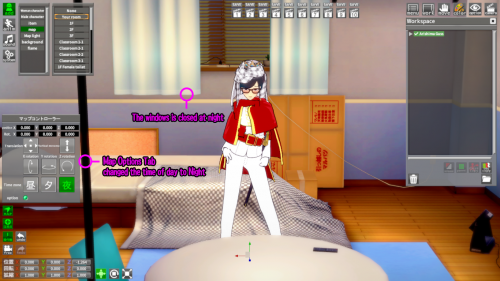
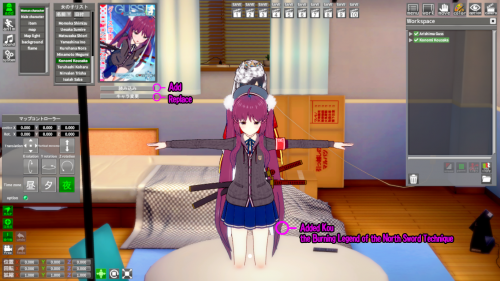
Below is a detailed 33-steps picture-to-picture that cover the basics with explanation to get you started into the editor.
